Connecting to WiFi
Purpose
When IoTaWatt powers up, it attempts to connect to the last WiFi network used. A connection must be established to an internet connected network if the real time clock is not set, or to run the configuration utility, or if logging to an external server like Emoncms is desired. It is strongly recommended to connect the IoTaWatt to a WiFi network with a reliable internet connection.
If the power-up connection is successful, the LED will begin to glow dull green. This indicates that the IoTaWatt has connected and is in normal operating mode. At this point you can skip ahead to the next section Device Configuration
New connection
If the IoTaWatt has never been connected to a WiFi network (new),
or the last used network is not available, the ESP8266 will enter
AP (Access Point) mode when powered-up (not on a software restart).
This state is indicated when the LED flashes the
three color sequence RED-GREEN-GREEN.
It will broadcast an SSID recognizable by the
prefix iota followed by a unique number.
Connect to it using a smartphone or tablet.
Use the password IotaWatt (case sensitive).
If the device was previously configured and the
device name was changed,
that new name will be the password required in this step.
After connecting, a page will be rendered with several choices. Select Configure WiFi.

A few seconds may elapse while the IoTaWatt scans for the local networks, then another page will be rendered allowing you to select one of the listed networks, or specify another network not listed.
Note that the IotaWatt only supports 2.4 GHz wireless networks. If you have a 5 GHz only network you can either enable 2.4 GHz on it, or create a separate (optionally hidden) network on 2.4 GHz for the IotaWatt to use.
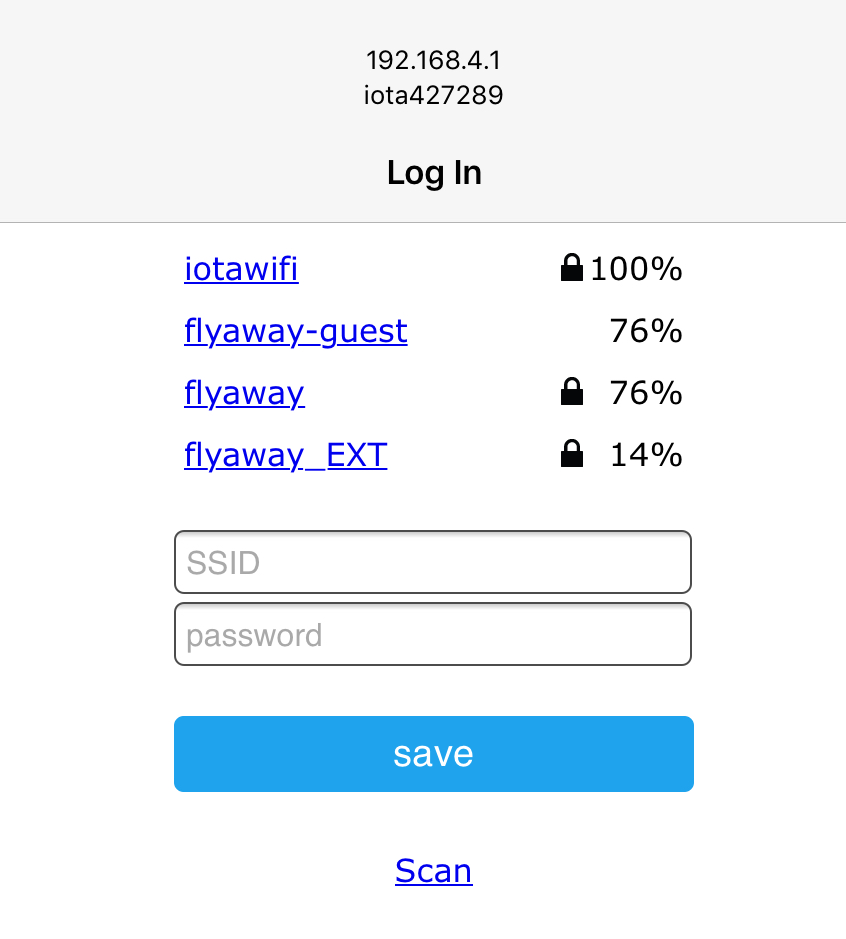
Select your network and enter the password, then save. Once connected, the new WiFi network credentials will be saved and the device will continue it’s startup procedure. If you see another LED sequence, refer to the troubleshooting section.
When the LED glows dull green, proceed to the next step Device Configuration
Resetting WiFi to Defaults
If you wish to change the WiFi SSID that the IoTaWatt is connected to (you might have done some testing and want to deploy ‘live’ somewhere where the SSID is different) BEFORE moving the device you should reset the WiFi.
Using the configuration app go to Tools->WiFi
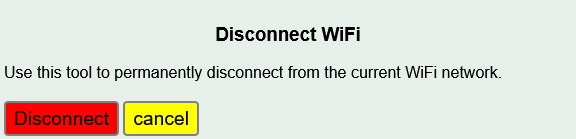
After the command to disconnect the existing WiFi connection has been sent, IoTaWatt will respond “ok” and the LED will change from a dull green to a dull red as the IoTaWatt disconnects, indicating that the WiFi link has been severed.
Then power cycle the IoTaWatt. It should restart with the RED-GREEN-GREEN led sequence like a new IoTaWatt ready to connect to the new SSID